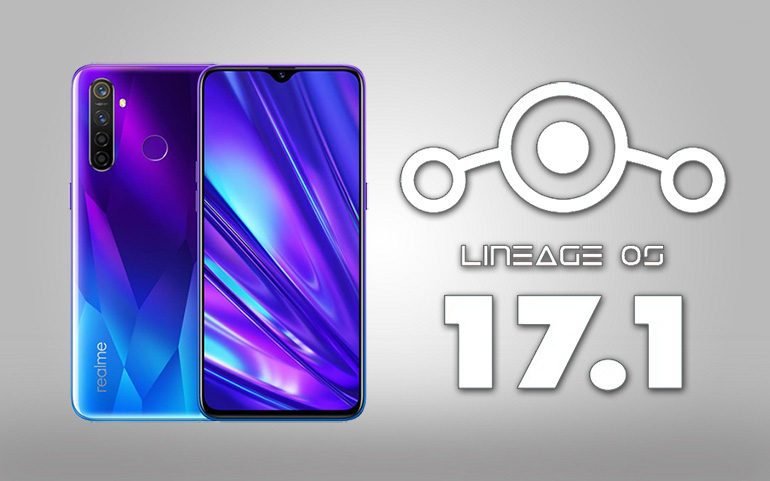
In this easy steps tutorial, we’ll guide you to install Android 10 update on Galaxy A20 using TWRP custom recovery. Moreover, this unofficial custom ROM is inbuilt with Lineage OS features as well as Android 10 features. Isn’t it amazing! This makes it the best custom ROM for Samsung Galaxy A20. Let’s have a detailed look at some LineageOS 17 features. This Android 10 ROM includes a newly refreshed UI with plenty of customization options. Besides, it sports Quick Toggle feature, revamped quick settings, enhanced auto-fill, live caption, 5G support, multi-camera API, Wi-Fi network connection API, enhanced gesture navigation, adaptive battery with AI support, bubble feature and much more. Samsung Galaxy A20 features an Exynos 7884 processor with 32GB storage and 3GB RAM. Additionally, it offers a dual-camera setup of 13MP wide camera lens and 5MP ultra-wide lens. Besides, it runs Android 9.0 Pie OneUI out of the box. With such breathtaking Galaxy A20 specs, this LineageOS 17 can run smoothly without no lag problem. Are you ready to enjoy and experience the newly launched Android 10 on Samsung Galaxy A20? then proceed to our tutorial mentioned ahead.
Disclaimer
Do not perform anything on your own. If your Galaxy A20 gets damaged or bricked, then we at Droid Thunder will not be held liable for the same.
Compatibility
This Android 10 based Lineage OS 17 ROM is only for Samsung Galaxy A20. Do NOT flash this software update on any other phone.
Screenshot
Pre-Requisites
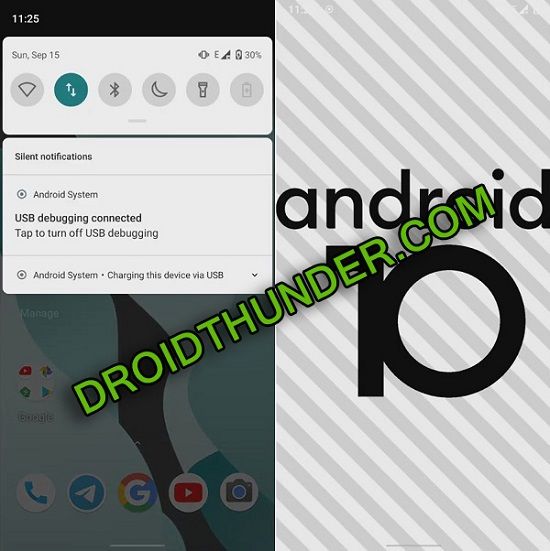
Charge your mobile battery to a minimum of 50%. This process will delete your phone data including contacts, apps, messages, and accounts, etc. Hence take a backup of everything. To detect your phone, install USB drivers on PC. Also enable USB debugging mode in your mobile settings. This process needs the latest TWRP recovery to be installed on your phone. Your Galaxy A20 should have root access before going ahead.
Let’s proceed to our Samsung Galaxy A20 Android 10 ROM installation guide.
Downloads
LineageOS 17 GApps
Steps to Install Android 10 on Samsung Galaxy A20
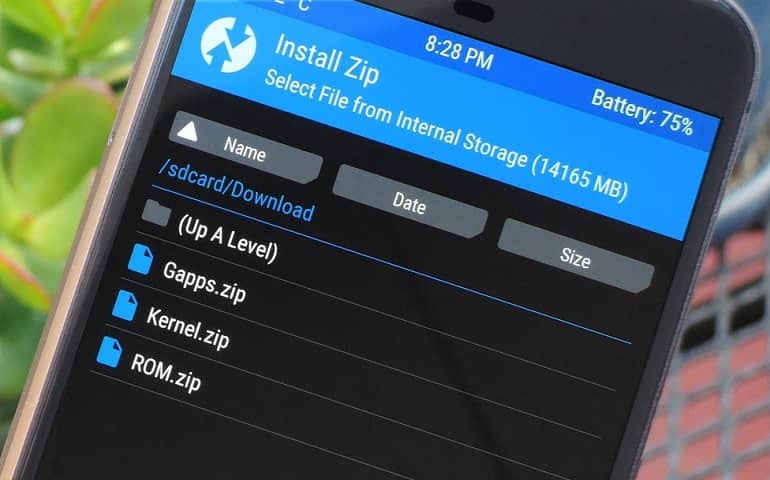
Connect your phone to PC and copy the zip files on your device storage. If you don’t have a PC, then you may directly download the files on your phone. Boot Galaxy A20 into TWRP recovery mode. For doing so, switch it off. Then press and hold Volume Up button + Power button simultaneously. When you notice the TWRP logo, leave both the buttons. If you are not able to do so, use the TWRP Manager app from Google Play Store. This is how you can restart Samsung Galaxy A20 into TWRP recovery mode. Once you land into TWRP, take Nandroid backup. This is the backup of your current Android operating system. Now click the Wipe button from the TWRP main screen. Next, swipe right to start the wiping process. This step will delete your complete phone data. Hence make sure to implement backup before doing this step. From the main menu, again click on the Wipe option. Then tap on Advanced Wipe. Select Dalvik / ART cache, System, Data, and cache partitions. Do not check any other partitions as it might brick your phone. Then, swipe in the right direction to start the wiping process. We’ll start the Samsung Galaxy A20 Lineage OS 17 ROM installation process now. Simply click on the Install button. This will show your files along with the downloaded LineageOS 17 ROM. Now browse and select the Android 10 ROM from the list of files. Swipe in the right direction to initiate the Galaxy A20 Lineage OS ROM installation. Be patient and wait until the installation completes. Similarly, flash GApps zip (Google Apps) package file. Reboot your phone from the Reboot > System option. The first boot will take more time to start than usual. But it’ll be normal afterward. If you didn’t like this LineageOS 17 ROM, then you can restore default stock ROM using our guide:
Conclusion
This is how you can download and install LineageOS 17 custom ROM based Android 10 on Samsung Galaxy A20 SM-A205F smartphone. Kindly ask your questions using the comment section. Notify me of follow-up comments by email. Notify me of new posts by email.
Δ

